Welcome to the next part of our blog on orchestration and control. In the previous part we discussed why it is essential to plan your events and reserve your resources up front.
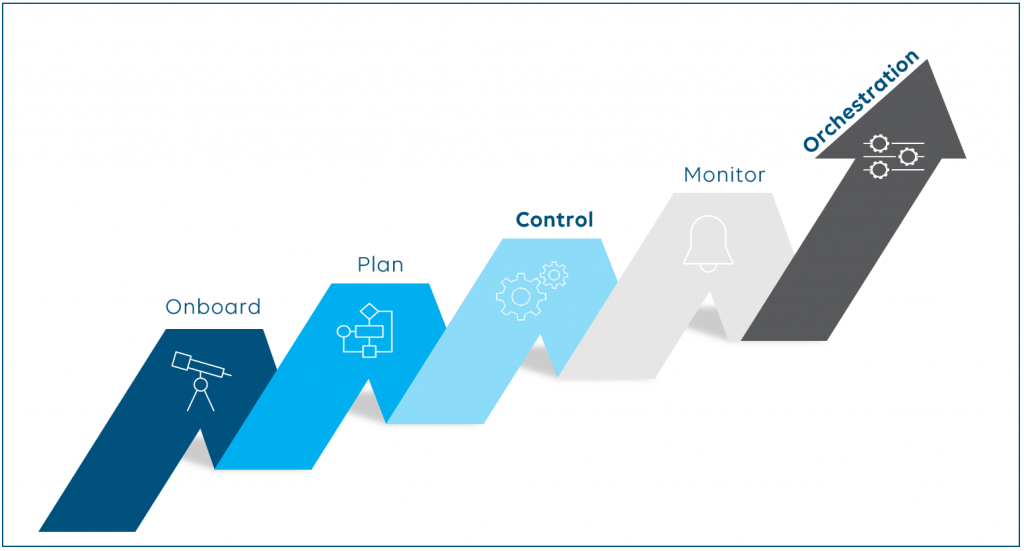
In this post we are looking into step 3: Control
What needs to be done?
It is not enough to just make reservations for your upcoming events. An orchestration platform must also be able to control your physical and virtual infrastructure. In part II, we discussed applying base configurations and firmware updates while onboarding equipment into your bookable equipment pool. In this blog post, we will go a step further, and focus on the controls required to successfully manage your event or production.
First, you need control to automatically apply initial event configurations to your devices and establish signal connections before the production starts. This could include loading a playlist into a video server, setting up your multiviewer in the gallery, or attaching an RCP (remote control panel) to one of the reserved CCUs in your studio. It could also be a whole series of actions, for example to reconfigure all your studio equipment and remote facility from HD to UHD.
Control also requires setting up all your initial signal flows: feeding your multiviewer, your vision mixer, an LED wall that is part of the set, etc. And all of this must be done without forgetting to pass through the necessary frame syncs, upconverters, etc.
Then, you need manual device and signal control capabilities while the event is running. Compared to the event preparation, which can be fully automated, this is much more time critical and user centric. Software user control interfaces or hardware panels with buttons, rotary knobs and levers for real-time parameter and signal routing control are typically used here. Software control interfaces offer the advantage that they can be created dynamically to only give control capabilities for those devices and signals that are required for your event, thereby maximizing user convenience. Your hardware panels can also load a configuration for each of your events, combining the custom control possibilities of software panels with the intuitiveness of hardware buttons and levers.
And finally, what will you do when your event is over? Right, you need to decommission your infrastructure to be ready for the next event in a controlled way.
As you can see, there is a whole event life cycle that needs to be managed, requiring different sets of controls for your underlying infrastructure. This life cycle service orchestration (LSO) should not only manage the start and stop of an event, but handle additional service states as well, for example a pre-roll state to cover actions that need more time, such as spinning up a virtual machine running your video server, activating a transcode media function in the public cloud or changing the app on your FPGA-based signal converter.
This is where the core question comes up: How to transparently manage all your equipment, without compromising on your best-of-breed (multi-vendor) setup? Although there are industry specifications out there for control protocols (e.g. OpenConfig, NMOS, Ember+, etc.), reality shows that you will always have products with vendor-specific APIs. To benefit from all control capabilities, your orchestration platform needs to support products from different vendors, different technology and different protocols, otherwise you might end up in a vendor lock-in and best of breed is no longer achievable.
A good approach to manage products from different vendors that use different APIs and have different capabilities is the use of profiles. A profile is a set of parameters that you need in order to control a certain type of resource. For example, your IP gateway needs to support the source multicast IP and the bitrate, just to mention two parameters here. A mediation layer between the profile, which can be defined independently of your products, and your actual infrastructure is a great way to decouple your operation from the underlying infrastructure. Such a layer will always translate the command to set your bitrate into the vendor-specific API command. When the orchestrator executes different service states, the right profile can be applied to each product for the right service state.
A well-managed event will always need a combination of controls automatically applied for each of your service states (e.g. start, stop, pre-roll, etc.) and manual ad-hoc real-time control capabilities for your operators while the event is running. However, all manual ad-hoc control needs to be managed with care. Only those controls that do not impact the capacity of a resource (e.g. change audio gain on an audio processor) should be allowed. Ad-hoc control to change for example your output bitrate of your IP gateway might be critical, as this could impact the available network capacity.
Finally, let’s have a look at how an orchestration system can establish signal connectivity. To route SDI, ASI or RF signals, your orchestrator should be able to directly interface with those routing systems via either a proprietary or an industry-standard protocol (e.g. Probel SWP, Leitch LRC, etc.) to set the required crosspoints.
In an all-IP environment, you have two options to establish a connection between a source and a destination. Either the orchestration platform has built-in SDN control capabilities, or it can interface with a third-party SDN-controller. Each SDN-controller available on the market has a slightly different feature set. You will have to make careful decisions to ensure your SDN-controller fulfills your needs, works together with the underlying infrastructure, i.e. your network architecture and the media edge devices, and supports your operational workflows. For more information on how to build an SDN solution for media, have a look at our “SDN for Media” white paper.
Why do you need this?
- Your equipment will have the right initial configuration just before the event starts and all signals required for your productions will be automatically routed to the right destinations.
- Your software user interfaces and hardware control panels will give access to only those devices that have been reserved for your production.
- You will lower preparation time, avoid repetitive tasks, have fewer human errors and reduce operational costs.
How to integrate with SDN- and BC-controllers?
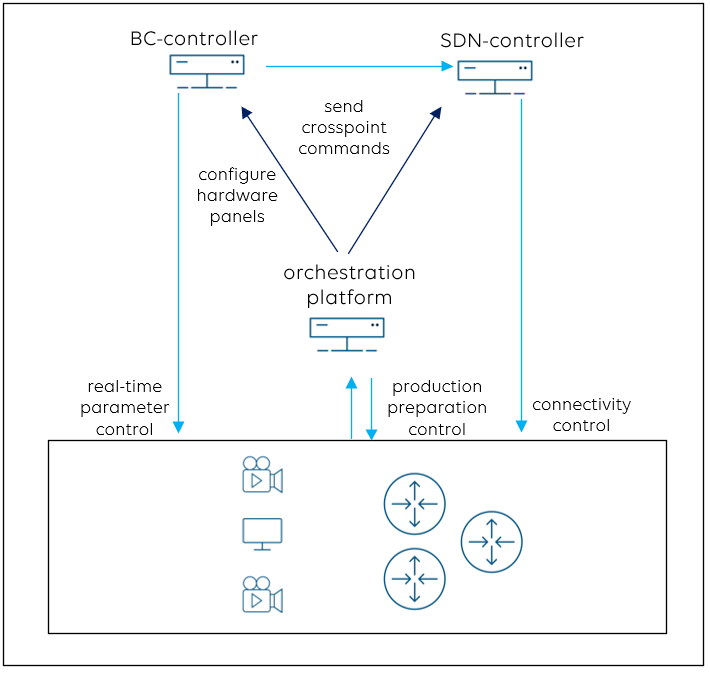
If the orchestrator does not support the functionalities discussed above, the broadcast-controller can be used for device control and the SDN-controller for connectivity management. How can all systems work together?
The orchestrator can take care of the initial automated device configuration, and when your production is active, operators can use the broadcast-controller for real-time parameter control. Remember that the orchestrator has already shared the reserved resources with the BC-controller. The latter should now only offer device control for those resources that have been reserved for the production. The orchestrator can also push event–based configurations to third-party hardware control panels.
Third-party SDN-controllers typically expose rather simple northbound routing protocols. Your orchestration platform can establish connections just by sending crosspoint commands to the SDN-controller in the very same way as the orchestrator does when interfacing with an SDI router. As an alternative, the orchestrator can also interface with the BC-controller to send crosspoint commands, and the BC-controller again sends those to the SDN-controller. This is a good approach whenever the signal (i.e. router) labels are managed by the BC-controller. Or you can only use the BC-controller to send crosspoint commands to the SDN-controller – all combinations are possible, as long as all systems stay in sync.
In the upcoming part V of this blog, we will look into step 4: MONITOR