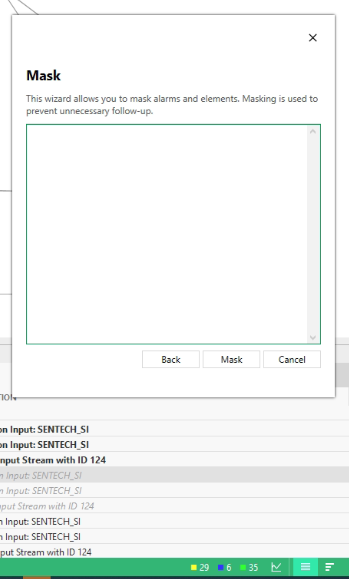
We have a system with a number of elements and two of these elements raise specific major alarms every 3-6 minutes. The alarm is only active for 3 seconds for each occurrence. This raises 8 lines in the alarm console for each occurrence.
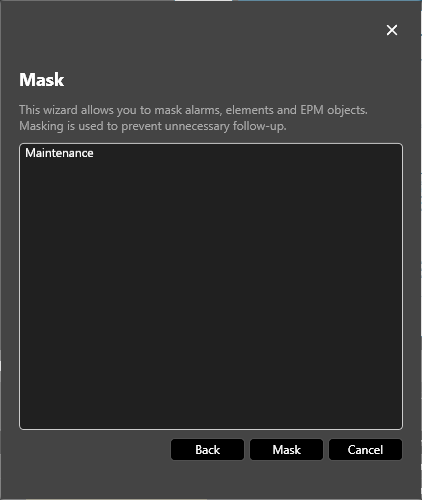
We are trying to mask this alarm, and have found the mask alarm feature either in one of the columns or by right clicking on the actual alarm. After selecting the alarm to mask, and choosing mask until unmasked the wizard window above pops up. What needs to be added to this before selecting MASK below the window?
Any help would be greatly appreciated.
Stefan
You can just go ahead and mask the alarm without filling in anything in that field. This is optional for you to add any comments that you want to share with other people (e.g. to explain why you are masking the alarm). Whatever you type there will be visible in the COMMENT field of the alarm (you can right click on the headers in your alarm console and add that field if you want to see that). But in short, it is an optional field, and it is meant to share information with co-workers.
Hi Stefan,
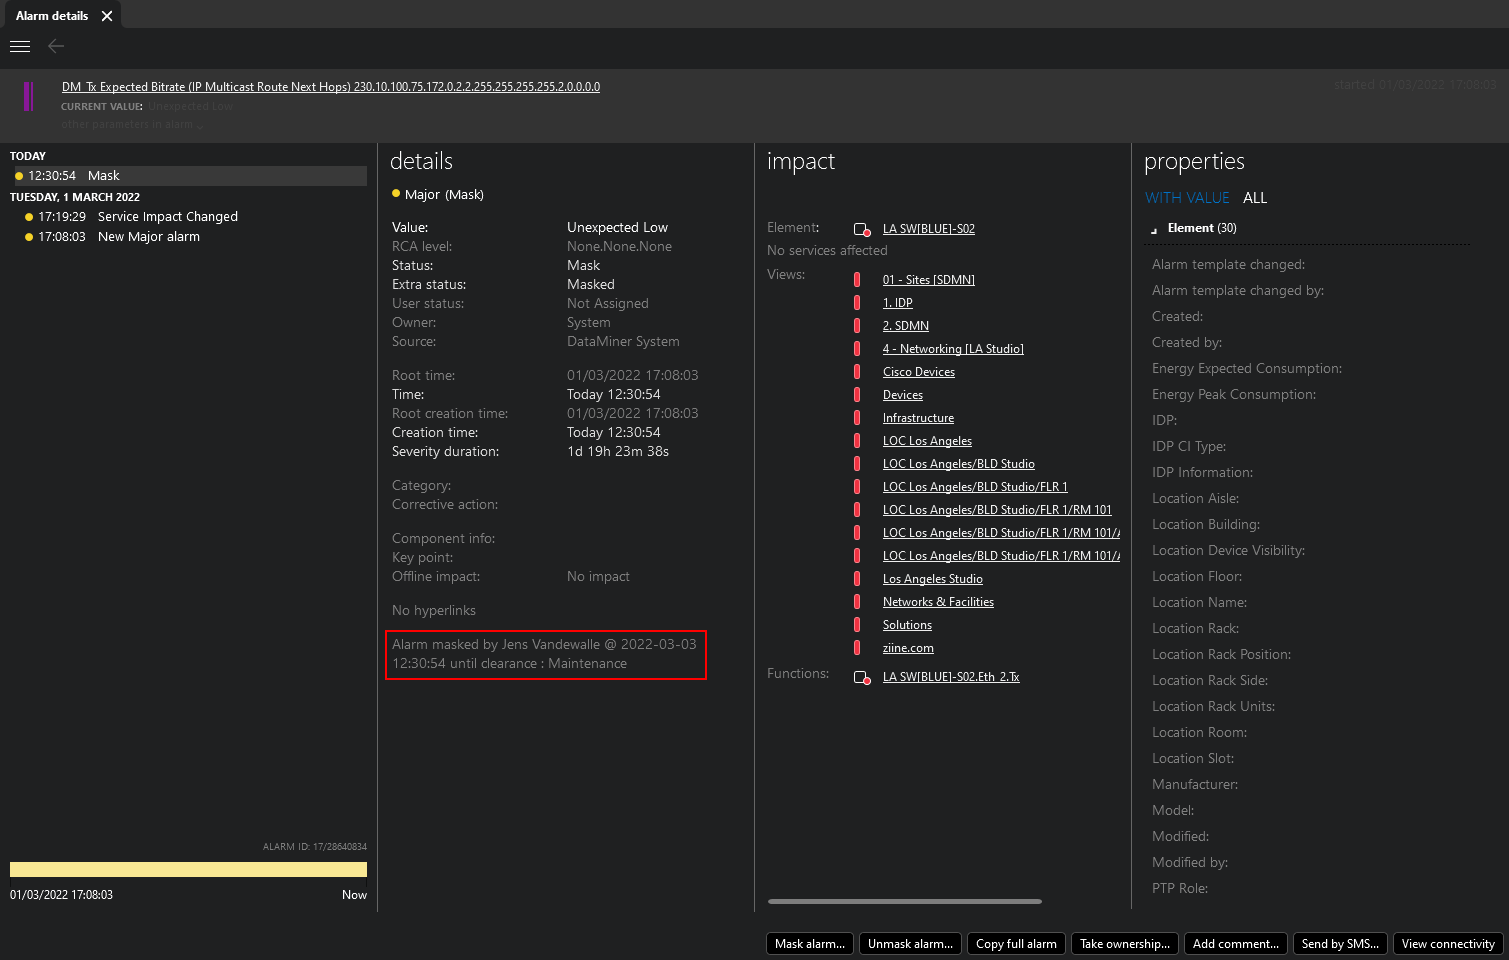
In that area you can optionally fill in a reason for masking the alarm. This will be added as a comment to your alarm, which you can see in the alarm details card.


Thanks Jens. And FYI the information that Jens highlighted there, this can also be added in your Alarm Console as I mentioned. Just right click on any column header in your Alarm Console, choose Add/Remove column, and select the Comment option.
Thank you Jens, Ben.
Hi Stefan,
Thx for your asking this question, I assume a small extension to the label on top and/or some watermark text in the textbox would make it more clear to you why the text box below is there? Something like:
MASK
This wizard allows you to mask alarms and elements. Masking is used to prevent unnecessary follow-up. Optionally you can enter some comments that will end up on the masked alarms.
[
// You can enter your comments here
// these comments will be added to the masked alarms, also as ‘comment’.
]