Retro recipe
Back to basics
This is a retrospective that goes back to basics, with an added small fun factor. Perfect for when it is one of the first retrospectives you do with the team or when you have the feeling that lately you haven't been as focused on what matters in your retrospective meetings.
Ingredients
- A (free) Mural account
- This mural template
- Sticky notes and pens (when in the office)
- OR an internet-connected device for everyone (when remote)
- Your awesome team
- A good mood
- Trust
Mise en place (10 minutes)
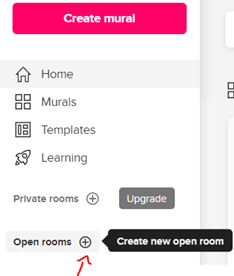
Step 1: Create a room for your team on Mural
Once you have created a Mural account, you can create a room for your team to add the retrospectives
Step 2: Duplicate the Mural board
Create a new mural starting from the template, so you don’t have to start from scratch and make it yourself.

Step 3: Customize the board to your needs
Go to your new board and change the name.
To make this retrospective a bit more specific to your team, you can still edit some things. To edit things, you first must unlock the thing you want to edit. This can be done by left-clicking the thing you want to unlock while keeping the Ctrl and Shift key pressed. Then right-click it to unlock.
Once you're done editing, don't forget to lock it again by selecting the thing you want to lock, then right-click and lock.
In this specific Mural, you can add/remove the colored notes depending on the number of people on the team.
You can also add/edit/remove the meters to ask specific team-related questions.
In the second part, you need to edit the names of the subteams and add/delete the whole section depending on the number of subteams.
Step 4: Final preparation
4.1 If you are holding the meeting remotely: Hide the different parts
You don’t want the team to be distracted when you start the retrospective, which is why you have outlines in Mural. As the creator of the Mural, you can hide all the different parts at the start and make them appear 1 by 1 to the team so the team doesn't get distracted.

4.2 if you are holding the meeting in a room: Prepare everything.
If you are doing the meeting in the office, you will need to prepare a room so that it looks like a copy-paste of the online Mural. This is possible by printing out some things (like the dogs and happy meters), but also by using physical sticky notes and markers that can write on windows.
You should spread out the sticky notes/setup over the room, so the different subteams have enough space away from each other. In the middle of the room, you make the general board.
On the exit door, you hang the ‘Rate the retro’ meter so they see it when they leave the room.
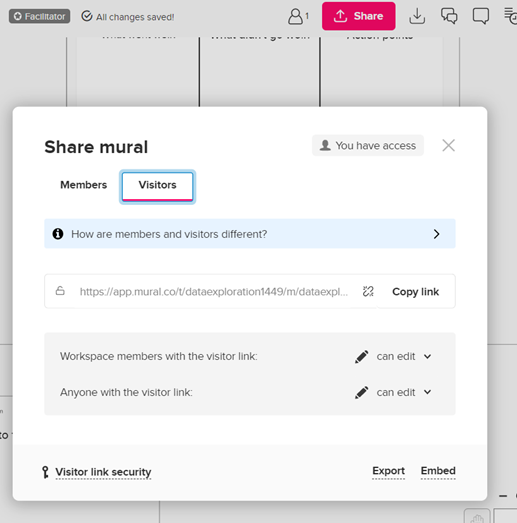
Step 5 – Invite the team
When you do the meeting remotely, invite the team to your Mural dashboard. In the top-right, click Share. This will open a pop-up window where you can copy the invite link in the Visitors tab.
Step 6 – Go over the retro and timing
Go over the retro again to explain how every part is time-boxed. Try to respect the timebox given to each topic.
Side note: The chosen timeboxes are specific to this team. You can use these timings the first time, but you can alter them to the specific timing your team needs in future retrospectives if you notice you need more or less time for a certain topic.
As the creator of this Mural, you are the facilitator of the retrospective and should keep the focus on the time-boxing of every topic, take some notes where needed and ask some broad questions.
Now you are all set to start the retrospective!
Retrospective (1h 20 minutes)
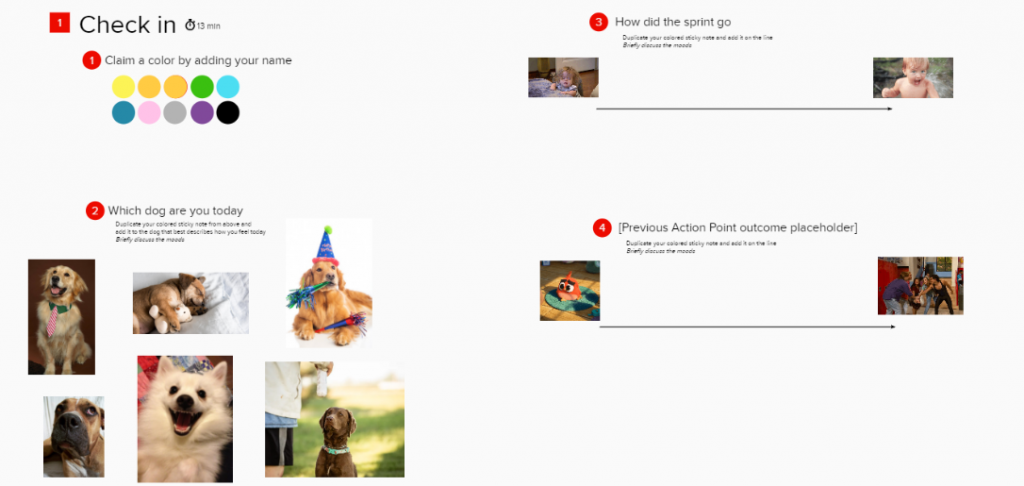
Step 1: Check-in (13min)
The check-in is meant as an icebreaker to let the team relax and build up trust.
This check-in can be done in two ways:
- When the trust is high enough, people can claim a color by adding their name. This is something you can do when there already is a certain level of trust in the team.
- When the trust is not that high yet, you can delete the ‘add your name’ so people can pick a color while remaining anonymous.
After picking a color (and adding your name to it, opt.), everyone should copy the sticky note to their clipboard to use it in the next part of the check-in.
Pick a dog that represents your mood and add your sticky note to it. When everybody picked a mood, you can discuss high level why some people are feeling a specific mood.
After picking a mood, we have some custom meters that you can use to discuss the outliers (if the people in question feel confident talking about it).
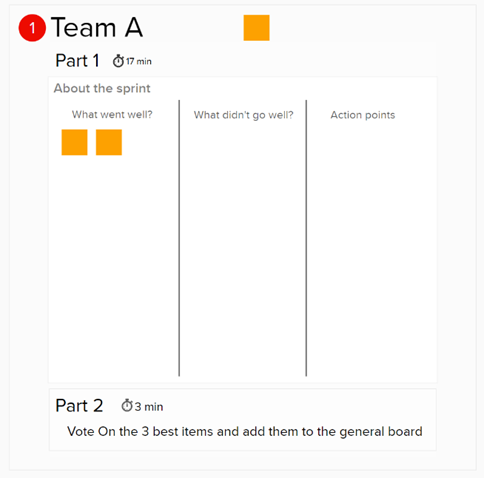
Step 2: Retrospective board (40min)
In this part of the meeting, we will go over the previous sprint by discussing what happened and where we can improve. This part is divided into two parts. The first part will be done in a break-out room, with only the members of each specific subteam present. After that, the whole group gathers at the general board where they will discuss topics with the whole team.
Step 2.1: Break-out rooms (20min)
Every subteam moves to a side of the room (or goes in a separate call when remote) to talk about the previous sprint. They will talk about:
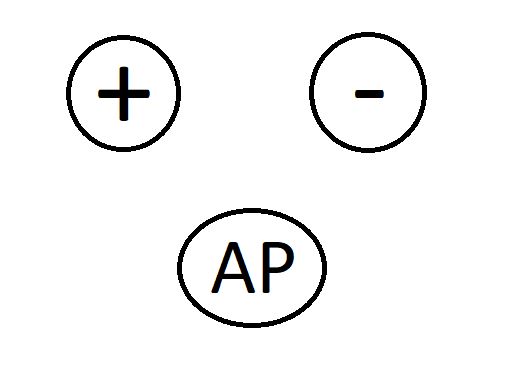
- What went well
- What went badly
- Keep-doing-points/Action points (APs)
First, they will go over the good things they experienced in this sprint. You can make "Keep-Doing-points" out of this and add them to the Action points column.
After that, they will discuss what went badly during this sprint, e.g. what impediments they had, etc.
After finding several bad things, they can think of how they can improve as a team to overcome these bad things and make Action points out of it.
After discussing the different topics with just the small subteam, the team votes on the 3 topics they want to add to the general board to discuss it with the whole team.
Step 2.2: General board (20min)
After deciding on the 3 most important items of every subteam we go over them in short one by one, to see if there is another helpful opinion from someone on another team.
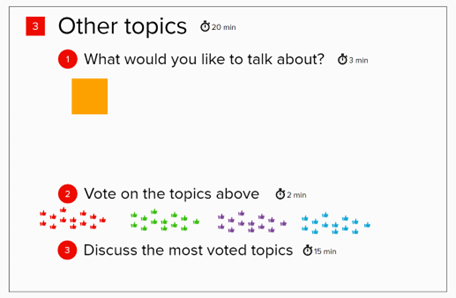
Step 3: Other topics (20min)
After we've discussed the previous sprint, everybody has the opportunity to add other topics they would like to discuss. After adding the topics, everybody gets a set number of votes.
The topic with the most votes goes first, and so on until the time has run out.
It’s important that you write down the APs that come out of these topics, so it is not a wasted discussion.
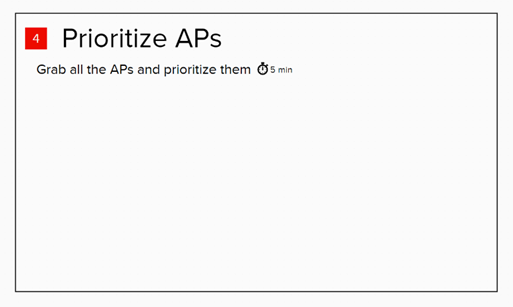
Step 4: APs (5min)
Now we go over the list of APs and prioritize them so that we know what Action point we need to focus on the most.
Step 5: Check-out (2min)
At the end of the retrospective, before we leave the room/meeting, it’s useful to gather information on how everyone felt the retro went so that we can use this feedback to improve the next retrospective template.
Everyone leaves a sticky note on the ‘happy meter’ that indicate their feelings about the retro. This is done anonymously, so there is no need to leave names. After that, the retrospective itself is done.
Follow-up
Now that we finished the retrospective meeting, we are not completely done yet. We discussed quite some things during the retro that some of the attendees could already have forgotten. That’s why it’s handy to store these notes somewhere, in particular the APs. It’s always a good idea to make them accessible somewhere so you don’t lose sight of them during the next sprint.
About the team that created and ran this retrospective
The data exploration domain contained (at that time) 12 people who were divided into 3 sub-teams, hence the breakout rooms.